A simple mark can become a useful set of website assets, but each output needs its own check. Trace the shape once, render the sizes you need, and inspect the smallest icons before publishing.
# Turn a simple bitmap logo into website assets
A simple mark can become a useful set of website assets, but each output needs its own check. Trace the shape once, render the sizes you need, and inspect the smallest icons before publishing.
Last updated 22 October 2026
## Start with a shape that tracing can preserve
A fictional gardening site has a bitmap logo: one solid leaf and stem on a plain background. It needs a scalable logo, a transparent PNG and a favicon that remains recognisable in a browser tab. The chain is [Image to SVG](https://abox.tools/image-to-svg/), [SVG to Image](https://abox.tools/svg-to-image/), then [Image to ICO](https://abox.tools/image-to-ico/).
Each tool does a different job: trace an outline, render it into pixels, and package icon assets. This route suits a simple monochrome shape. The tracer makes a single SVG path; it does not reconstruct a full-colour logo, photograph, gradient or layered illustration. Obtain original artwork when those details define the mark. If you already have a good SVG, skip tracing.
## Choose the clearest source
Use the best original bitmap available. A screenshot from a webpage may contain compression marks, a tinted background or unrelated text. Enlarging it does not restore missing detail. For this example the leaf sits inside a square image with a margin on each side.
Decide what belongs in the mark. The leaf and stem belong together; the gardening site's name does not need to fit inside a favicon. Keep the source separately for comparison. If it is tiny or blurred, the trace is an approximation, even though the resulting geometry scales.
## Trace once and inspect the outline
Open the bitmap in [Image to SVG](https://abox.tools/image-to-svg/). Compare the traced shape with the source, checking the leaf tip, the join with the stem and any intentional openings. Use the foreground selection and correction controls to remove stray regions; inspect the result again after changing smoothing.
A smooth line is not automatically a faithful one. Too much smoothing can turn the leaf into an oval; too little can preserve compression specks as permanent geometry. The [tracing guide](https://abox.tools/guides/trace-an-image-into-an-svg/) explains those choices. Save the accepted result as `leaf-master.svg`. Make future raster sizes from this master, rather than enlarging a PNG that has already been reduced.
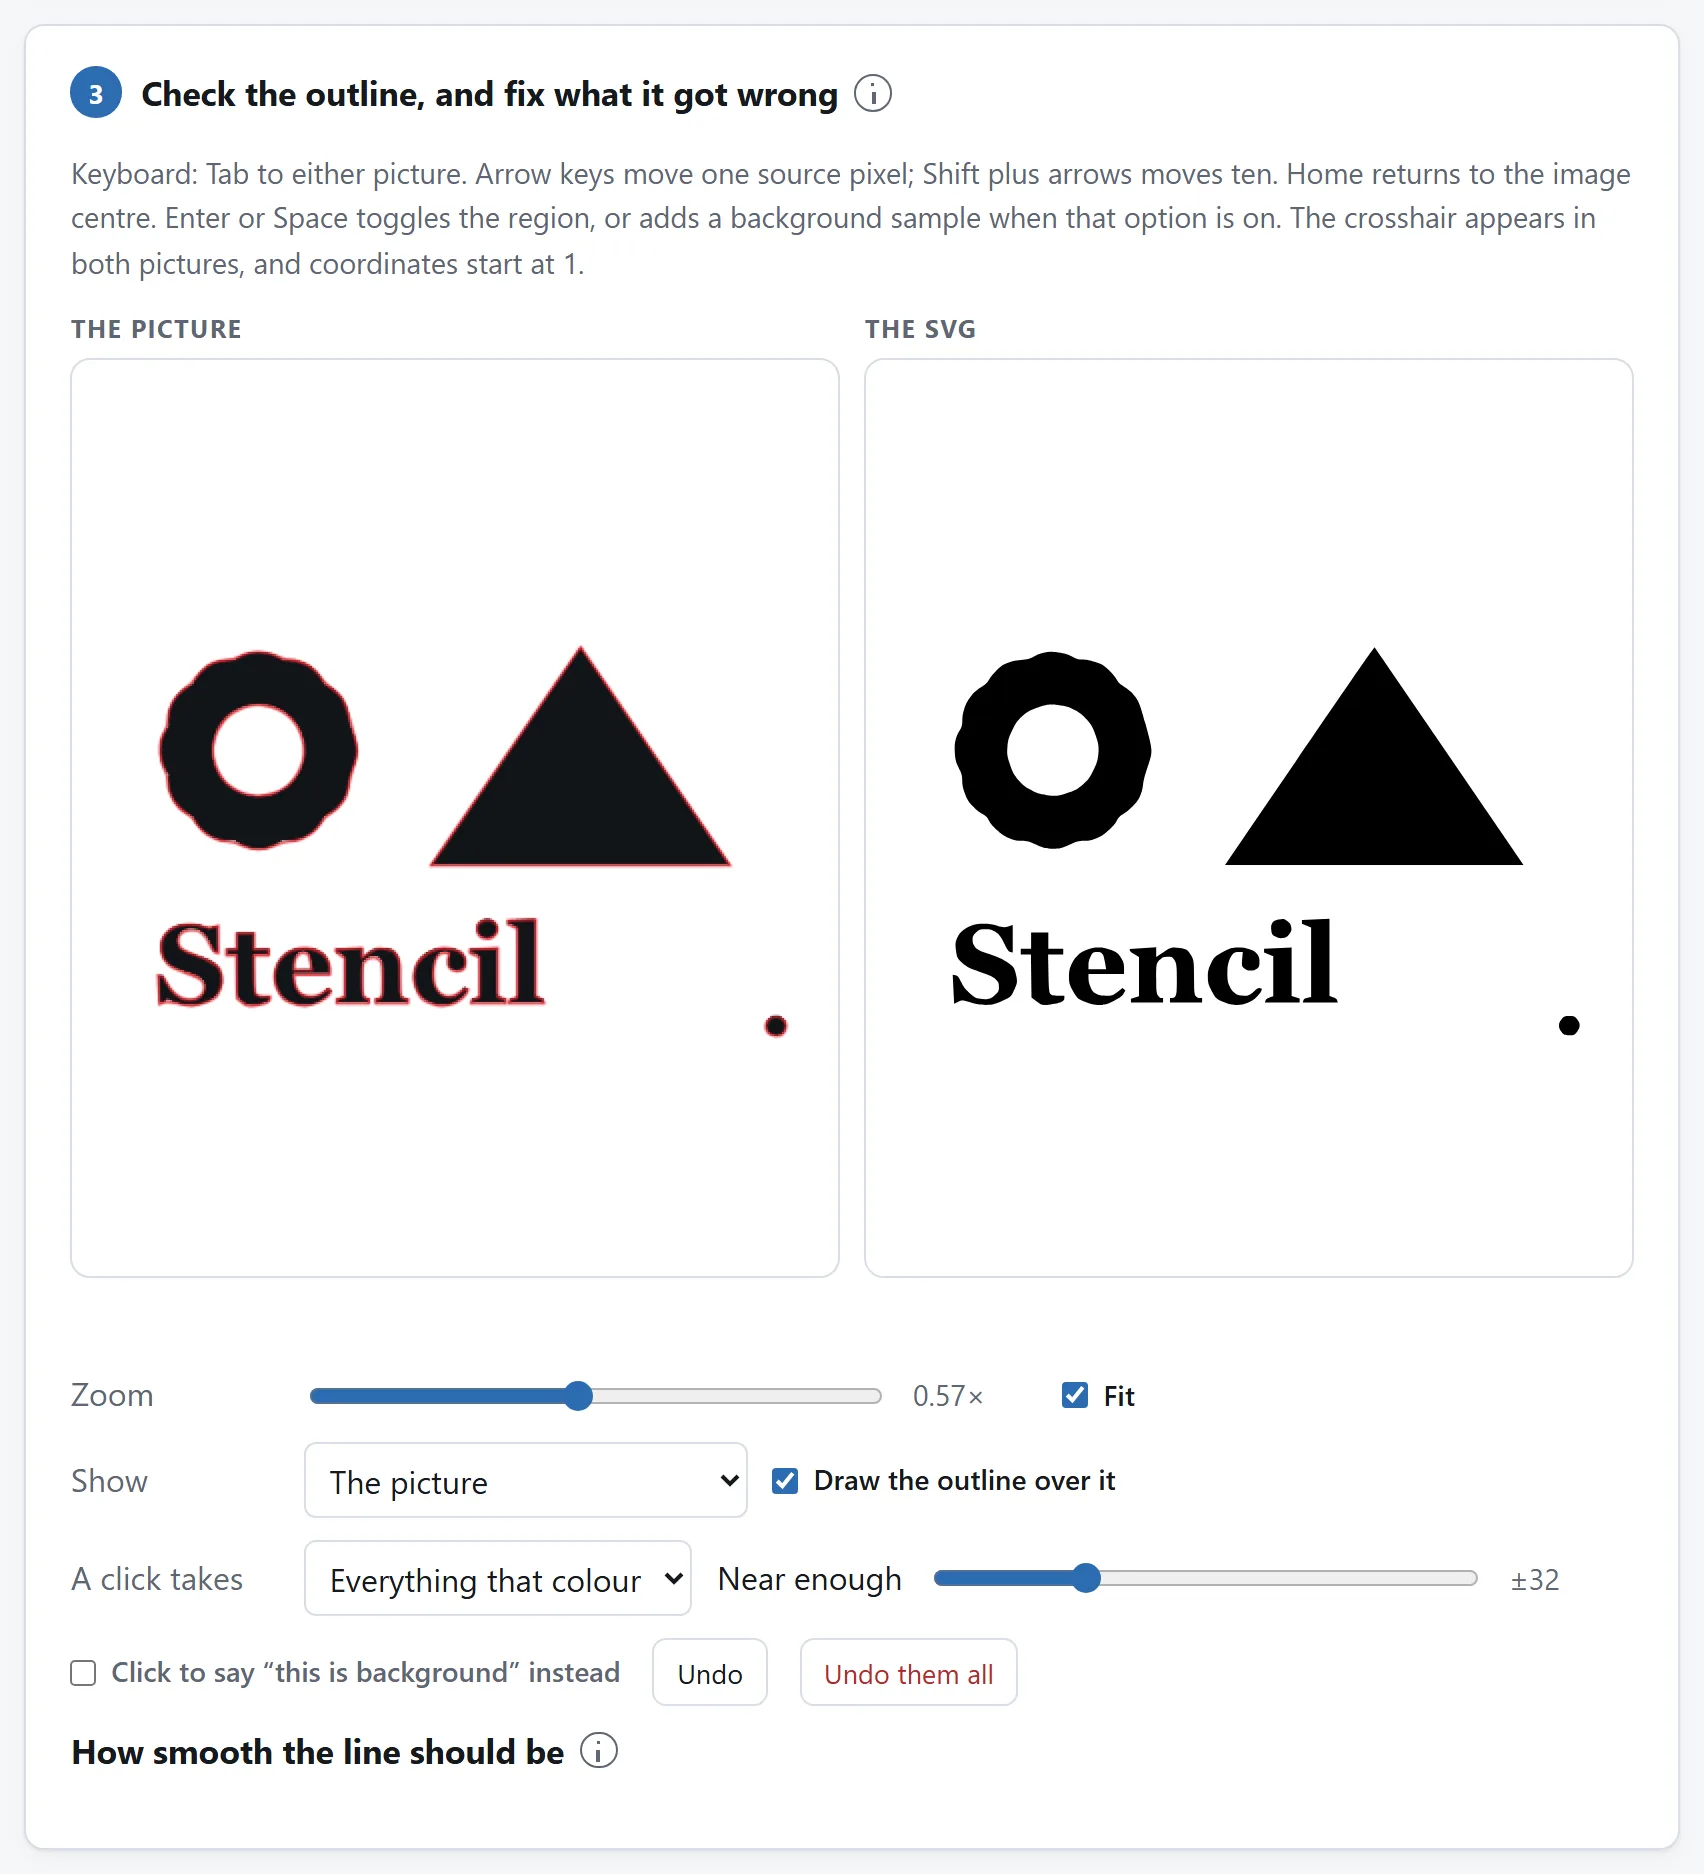
The tracing controls with a sample stencil. Compare the outline and openings before accepting the vector; a new file format does not establish that the shape is right.
## Render PNGs for specific jobs
Load `leaf-master.svg` into [SVG to Image](https://abox.tools/svg-to-image/). For the square source in this example, export a transparent 1024 by 1024 PNG and name it `leaf-icon-source.png`. This is a working size for the example, not a requirement for every logo. Keep the proportions and inspect the margin; do not stretch a non-square mark to force it into a square. The icon tool can pad a non-square input later.
Choose dimensions in the rasterizer. A separate resize is unnecessary when it can render the required pixels directly. Also export a PNG sized for the website's logo placement if that placement needs one, and name it for its purpose, such as `leaf-header.png`. Keep the SVG for places that accept vector artwork.
Open the exported PNGs and inspect the edges and transparency. A white preview alone does not tell you whether the background is transparent. The [SVG-to-PNG guide](https://abox.tools/guides/convert-an-svg-to-png/) explains dimensions and background choices.
## Package the website icons
Load `leaf-icon-source.png` into [Image to ICO](https://abox.tools/image-to-ico/). Choose the website output and the icon sizes it needs. Keep the generated ICO, website PNGs and accompanying reference files together. The [favicon guide](https://abox.tools/guides/make-a-favicon/) explains their roles.
This tool also supports Windows and macOS application icons. An ICNS file belongs to that macOS workflow; a website does not need every format the tool can produce. Choose outputs for their destination. Generating the package does not install it: place the assets at the paths your site uses and update its icon references.
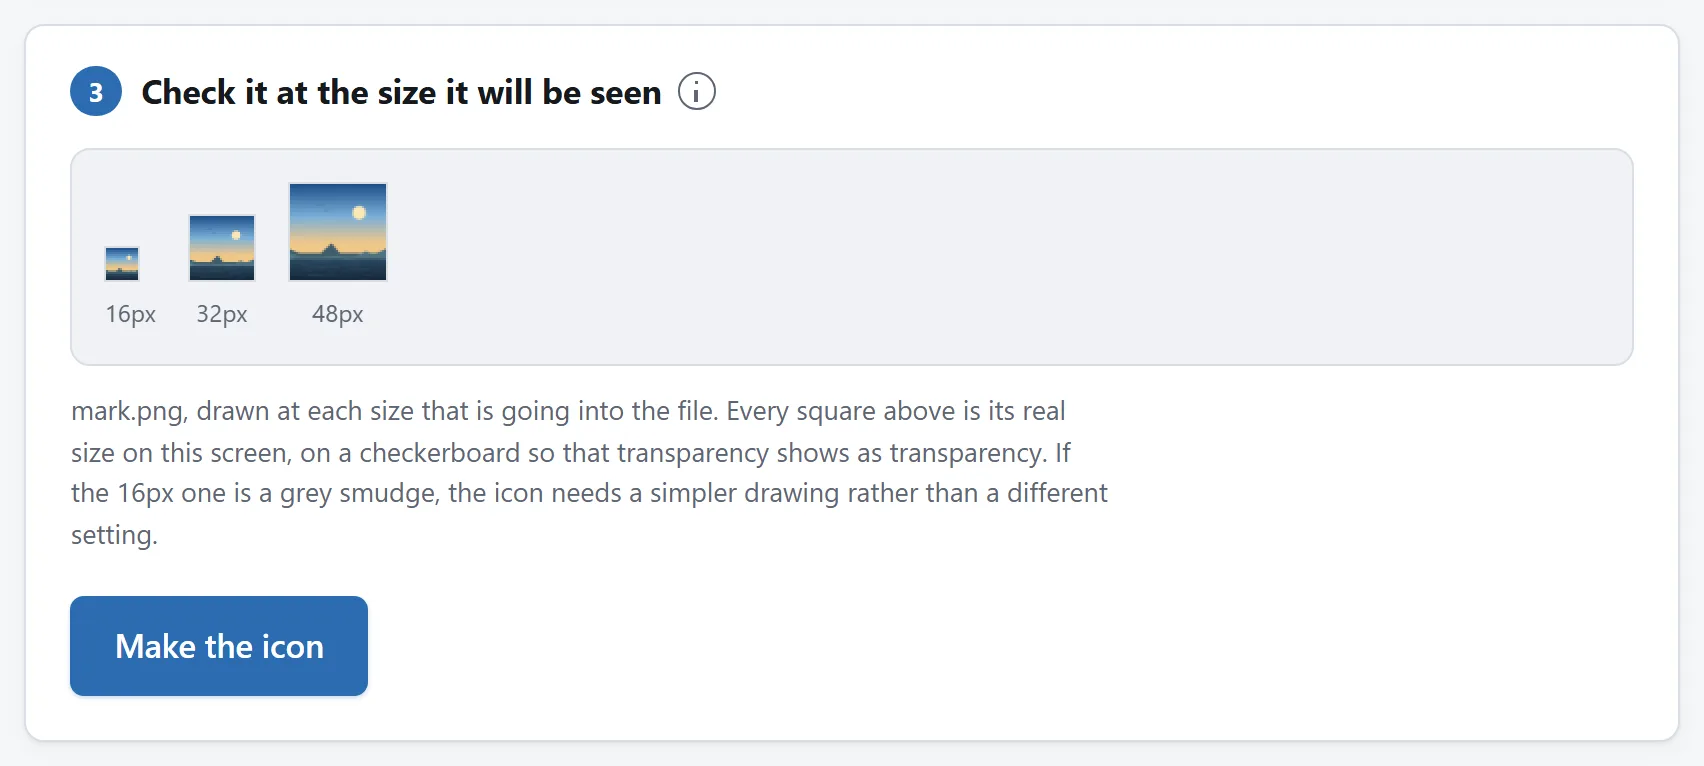
Size previews with sample artwork. Inspect the smallest icon itself, not just the large source image above it.
## Judge the smallest version separately
Inspect the icon at 16 by 16 pixels at its actual displayed size, then check the larger versions. The leaf might look excellent at 1024 pixels while its stem disappears or a narrow opening closes in the tab icon. More source pixels cannot make every fine feature legible in sixteen.
If the small icon fails, return to the artwork and simplify it deliberately. A sturdier stem or simpler silhouette is a design decision; a different converter setting cannot decide the identity of the mark for you. These tools do not replace a general drawing editor when the artwork itself needs redesigning.
Check transparent outputs against both light and dark backgrounds. A dark leaf may disappear on a dark surface. Prepare a deliberate alternative from the source when one treatment cannot serve both, then repeat the relevant exports and checks.
## Hand over an understandable asset set
| File | Purpose |
| --- | --- |
| `leaf-master.svg` | Approved scalable artwork and source for future exports |
| `leaf-header.png` | Raster logo sized for its page placement |
| Website icon package | ICO and PNG assets with the website references they need |
Keep the larger icon-source PNG with the working files. Open each final output, verify dimensions, and check the installed icons on the actual site, including a fresh browser visit if an old icon is cached. File processing is local; publishing the outputs makes them available wherever the website serves them. Use artwork you intend to publish and have permission to use.
Start with a shape that tracing can preserve
A fictional gardening site has a bitmap logo: one solid leaf and stem on a plain background. It needs a scalable logo, a transparent PNG and a favicon that remains recognisable in a browser tab. The chain is Image to SVG, SVG to Image, then Image to ICO.
Each tool does a different job: trace an outline, render it into pixels, and package icon assets. This route suits a simple monochrome shape. The tracer makes a single SVG path; it does not reconstruct a full-colour logo, photograph, gradient or layered illustration. Obtain original artwork when those details define the mark. If you already have a good SVG, skip tracing.
Choose the clearest source
Use the best original bitmap available. A screenshot from a webpage may contain compression marks, a tinted background or unrelated text. Enlarging it does not restore missing detail. For this example the leaf sits inside a square image with a margin on each side.
Decide what belongs in the mark. The leaf and stem belong together; the gardening site's name does not need to fit inside a favicon. Keep the source separately for comparison. If it is tiny or blurred, the trace is an approximation, even though the resulting geometry scales.
Trace once and inspect the outline
Open the bitmap in Image to SVG. Compare the traced shape with the source, checking the leaf tip, the join with the stem and any intentional openings. Use the foreground selection and correction controls to remove stray regions; inspect the result again after changing smoothing.
A smooth line is not automatically a faithful one. Too much smoothing can turn the leaf into an oval; too little can preserve compression specks as permanent geometry. The tracing guide explains those choices. Save the accepted result as leaf-master.svg. Make future raster sizes from this master, rather than enlarging a PNG that has already been reduced.
The tracing controls with a sample stencil. Compare the outline and openings before accepting the vector; a new file format does not establish that the shape is right.
Render PNGs for specific jobs
Load leaf-master.svg into SVG to Image. For the square source in this example, export a transparent 1024 by 1024 PNG and name it leaf-icon-source.png. This is a working size for the example, not a requirement for every logo. Keep the proportions and inspect the margin; do not stretch a non-square mark to force it into a square. The icon tool can pad a non-square input later.
Choose dimensions in the rasterizer. A separate resize is unnecessary when it can render the required pixels directly. Also export a PNG sized for the website's logo placement if that placement needs one, and name it for its purpose, such as leaf-header.png. Keep the SVG for places that accept vector artwork.
Open the exported PNGs and inspect the edges and transparency. A white preview alone does not tell you whether the background is transparent. The SVG-to-PNG guide explains dimensions and background choices.
Package the website icons
Load leaf-icon-source.png into Image to ICO. Choose the website output and the icon sizes it needs. Keep the generated ICO, website PNGs and accompanying reference files together. The favicon guide explains their roles.
This tool also supports Windows and macOS application icons. An ICNS file belongs to that macOS workflow; a website does not need every format the tool can produce. Choose outputs for their destination. Generating the package does not install it: place the assets at the paths your site uses and update its icon references.
Size previews with sample artwork. Inspect the smallest icon itself, not just the large source image above it.
Judge the smallest version separately
Inspect the icon at 16 by 16 pixels at its actual displayed size, then check the larger versions. The leaf might look excellent at 1024 pixels while its stem disappears or a narrow opening closes in the tab icon. More source pixels cannot make every fine feature legible in sixteen.
If the small icon fails, return to the artwork and simplify it deliberately. A sturdier stem or simpler silhouette is a design decision; a different converter setting cannot decide the identity of the mark for you. These tools do not replace a general drawing editor when the artwork itself needs redesigning.
Check transparent outputs against both light and dark backgrounds. A dark leaf may disappear on a dark surface. Prepare a deliberate alternative from the source when one treatment cannot serve both, then repeat the relevant exports and checks.
Hand over an understandable asset set
File
Purpose
leaf-master.svg
Approved scalable artwork and source for future exports
leaf-header.png
Raster logo sized for its page placement
Website icon package
ICO and PNG assets with the website references they need
Keep the larger icon-source PNG with the working files. Open each final output, verify dimensions, and check the installed icons on the actual site, including a fresh browser visit if an old icon is cached. File processing is local; publishing the outputs makes them available wherever the website serves them. Use artwork you intend to publish and have permission to use.

