A PNG enlarged is a staircase. An SVG is instructions for drawing, so it is sharp at any size — and turning one into the other is called tracing. It works beautifully on shapes and badly on photographs, and the difference is worth understanding before you start.
# How to trace an image into an SVG
A PNG enlarged is a staircase. An SVG is instructions for drawing, so it is sharp at any size — and turning one into the other is called tracing. It works beautifully on shapes and badly on photographs, and the difference is worth understanding before you start.
[Open the Image to SVG](https://abox.tools/image-to-svg/): One shape, one outline. Point at whatever should not be there.
Last updated 31 August 2026
## The short answer
Open [Image to SVG](https://abox.tools/image-to-svg/), drop the picture in, and look at the red line. That line is the outline as it stands, drawn over the pixels it came from. If it is following the shape, take the file. If something is in it that should not be — a speck, a staple, a caption, a shadow — click that thing and it goes.
Everything below is the two questions that decide whether this works at all: **is your picture a shape or a photograph**, and **which of the two ways of finding the shape does it want**.
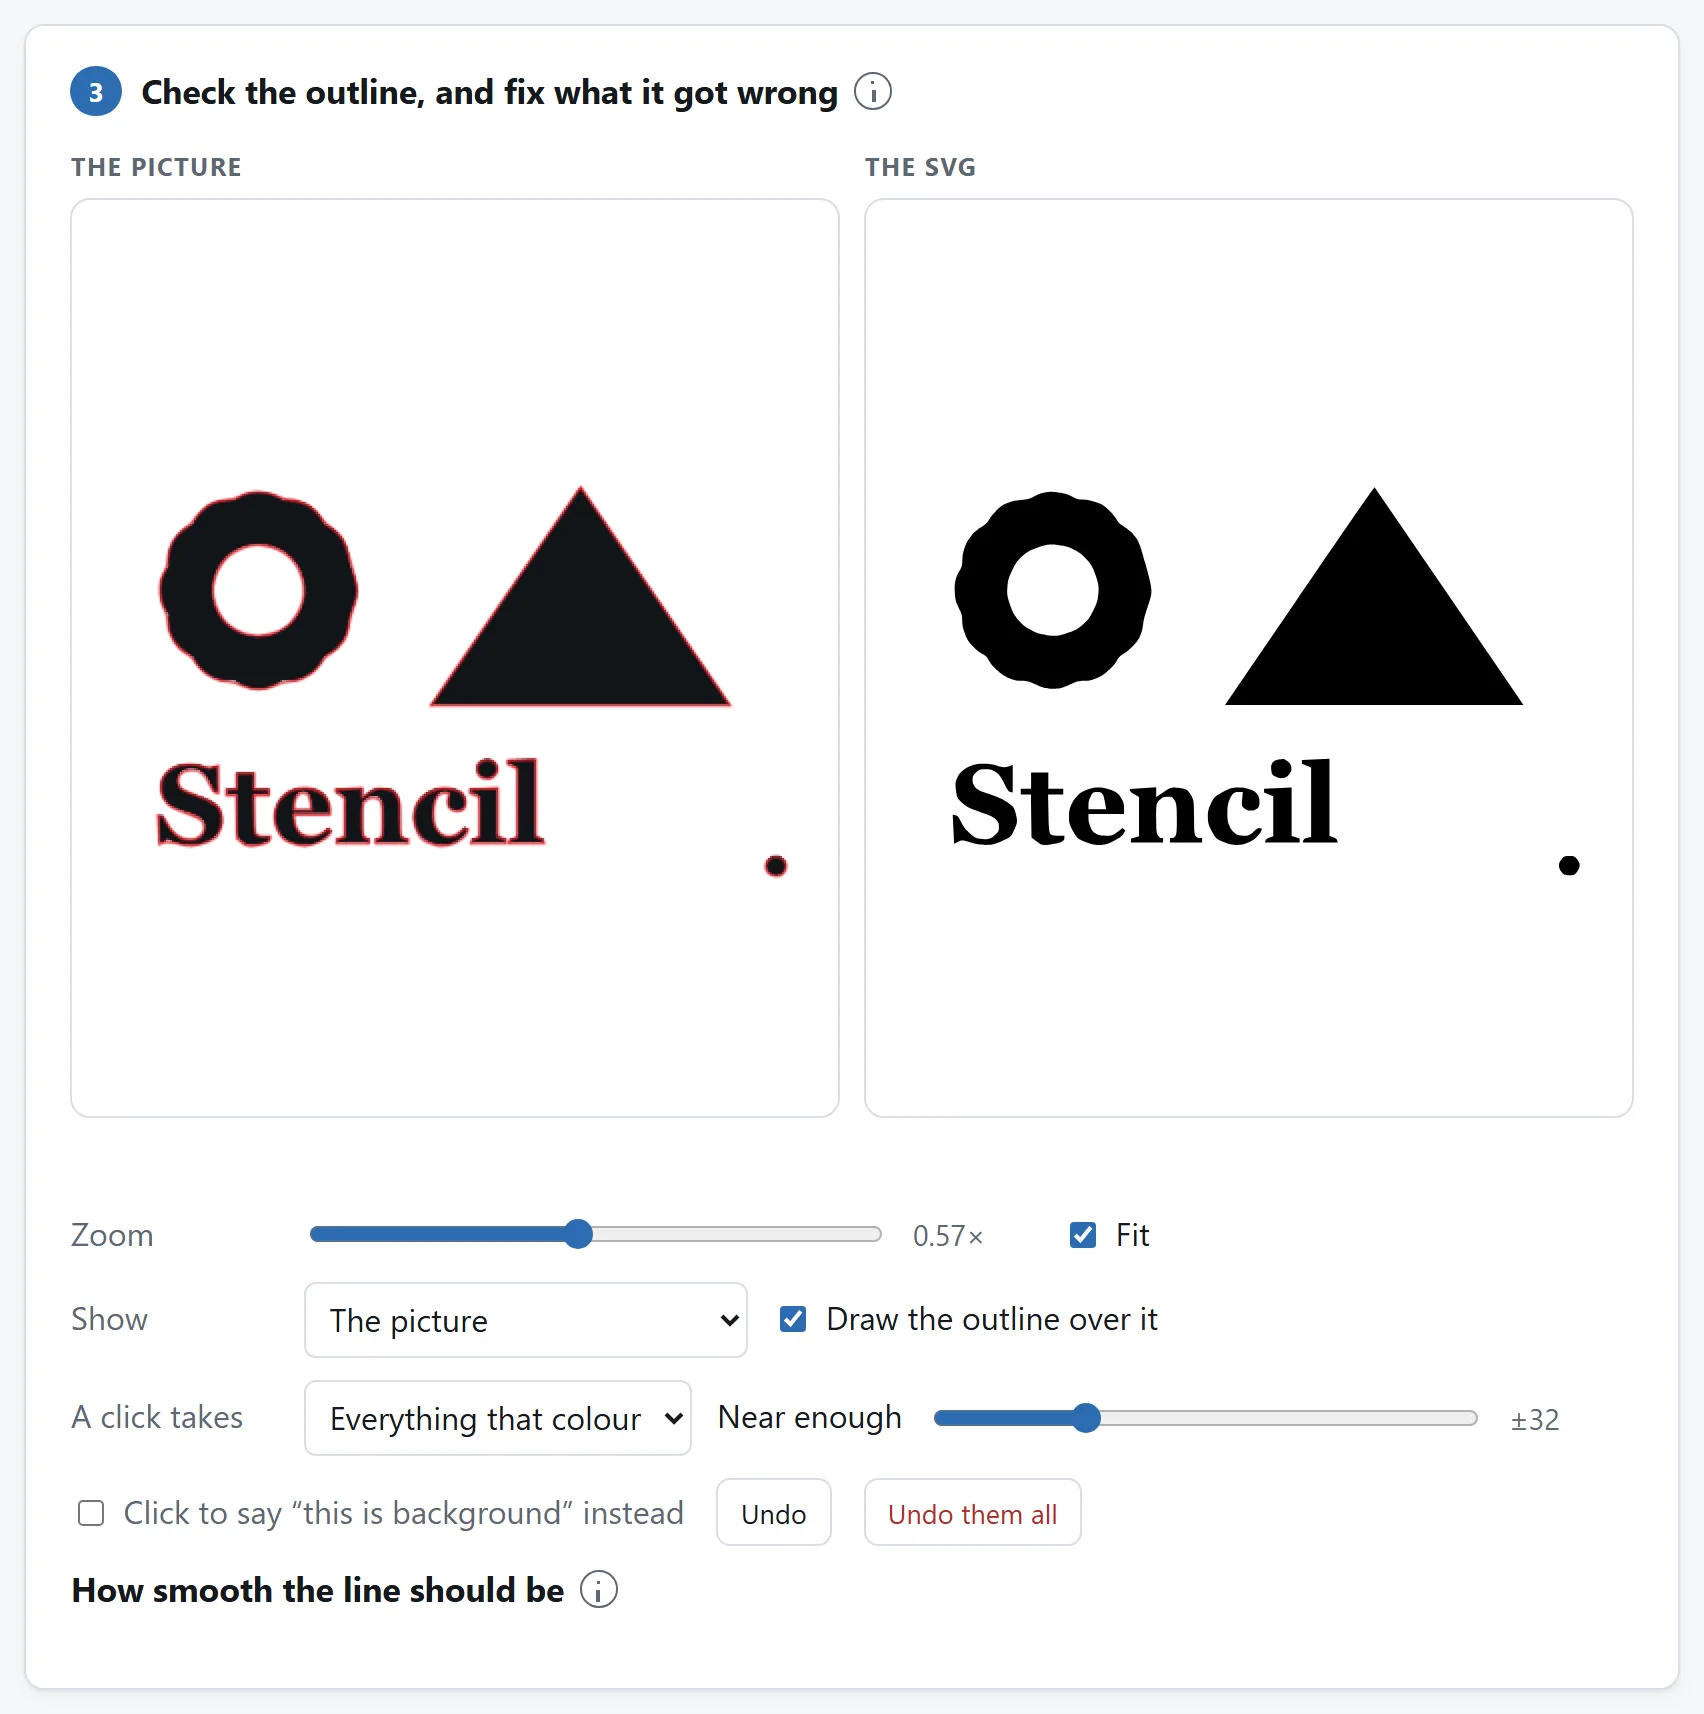
The outline is drawn over the picture rather than only beside it. That is the only place the question can be settled — an outline is right or wrong relative to those pixels and nothing else.
## Tracing is not conversion, and photographs do not trace
Converting a JPEG to a PNG is a conversion: the same picture, described another way, and nothing is decided along the way. Tracing is not that. It throws almost everything away and keeps one thing — the boundary of a shape — and then describes that boundary as curves. If your picture has one clear shape in it, that is exactly what you wanted. If it is a photograph of a room, there is no shape to keep, and what comes back is every patch of similar colour as its own blob.
This is not a limitation waiting to be engineered away, so it is worth saying plainly what the numbers look like. An A4 page of line art traces to three shapes and six kilobytes. A page of handwriting, to fifty shapes and a hundred and fifty. A single megapixel of photograph traces to **four thousand shapes and a megabyte and a half** — bigger than the JPEG, slower to open, and it does not look like the photograph. The tool stops drawing at that point and says so rather than letting you find out after downloading it.

What a photograph traced as line art comes to. The file is still yours to download; the page just declines to pretend it is a drawing.
What traces well:
- logos, marks and monograms;
- stencils, stamps and cut files;
- signatures and hand lettering;
- line art, hatching and comic inks;
- silhouettes, and anything already black on white.
There is one photographic job that does work, and it is a different job: cutting one object out of its background as a solid silhouette. That is what the second setting is for.
## The two ways of finding the shape
Tracing needs one bit per pixel — in, or out — and there are two ways to decide that.
**Light and dark** asks whether each pixel is darker than one level, and the level is worked out for you. That is exactly right for ink on paper, and it is what you want for every logo, scan and stencil. When it is wrong it is usually wrong in a way you can see: move the threshold until the thin strokes survive without the paper going grey with it.
**The subject** asks a different question, because on a photograph the first one has no answer. A dark red figure standing on dark grey stone is dark on dark: there is no brightness that separates them, so no threshold can. Instead this learns what the *background* is from a band round the edge of the picture, measures every pixel against it, and keeps the largest thing that is not it. A caption in the corner is not the largest thing, so it is dropped rather than traced.
It has one failure worth knowing in advance: a photograph cropped so tightly that the subject runs off two or three sides. The border is then mostly subject, so the model learns the subject's own colours and the answer comes out inside out. Nothing about that is fixable by nudging a slider — the assumption was wrong, not the arithmetic. Turn off *learn the background from the edges*, tick *click to say “this is background”*, and click the background two or three times instead.
## Fixing what it got wrong, by pointing at it
A threshold is one number for a whole picture, and it is always wrong somewhere: a shadow becomes ink, a staple survives, the middle of an O fills in. Each of those is a local mistake with an obvious local fix, and the fix is not another slider — it is pointing at the thing.
Click anything that should not be in the drawing and it goes; click it again and it comes back. A click takes the **whole patch of that colour**, so one click removes a whole speck or a whole stamp rather than a pixel. Clicking an enclosed piece of background fills it in instead, which is how a hole that should not be a hole gets closed. The line under the pictures says which it is and how big it is before you click, so a click that would take most of the picture is never a surprise.
Corrections are kept separately from the threshold, so moving the slider afterwards does not throw them away, and inverting the picture flips them with it — a speck you deleted stays deleted rather than reappearing as a hole punched in the background.
## The two smoothing numbers, and when to touch them
**Detail** is how far the line may stray from the pixels while being simplified. Below about one it does nothing at all — a staircase step stands a whole pixel off the line it belongs to, so a smaller tolerance keeps every step and there is nothing left to simplify. Above about two it starts eating real curves. It is worked out per shape unless you say otherwise, because one number cannot serve a whole figure and a two-pixel letter stem at the same time.
**Corner sharpness** is how far the outline must turn before that turn is kept as a corner rather than rounded into a curve. It is only half the decision — a vertex is also kept as a corner if it stands far enough off its neighbours, which catches every obvious corner on its own — so this number only ever decides the shallow turns. Below about twenty degrees everything becomes a corner and a circle comes back as a polygon.
Most pictures need neither touched. They are worth knowing about for the two cases that do: a scan of very small text, which wants more detail, and a shape you are going to cut on a machine, which usually wants less.
## What you get, and what to do with it
One file with a single `<path>` in it. Outlines are wound one way and the holes inside them the other, which is what lets a shape with forty holes be one element with no fill rule to set — so Illustrator, Inkscape, Figma, a browser and most cutting software all read it the same way.
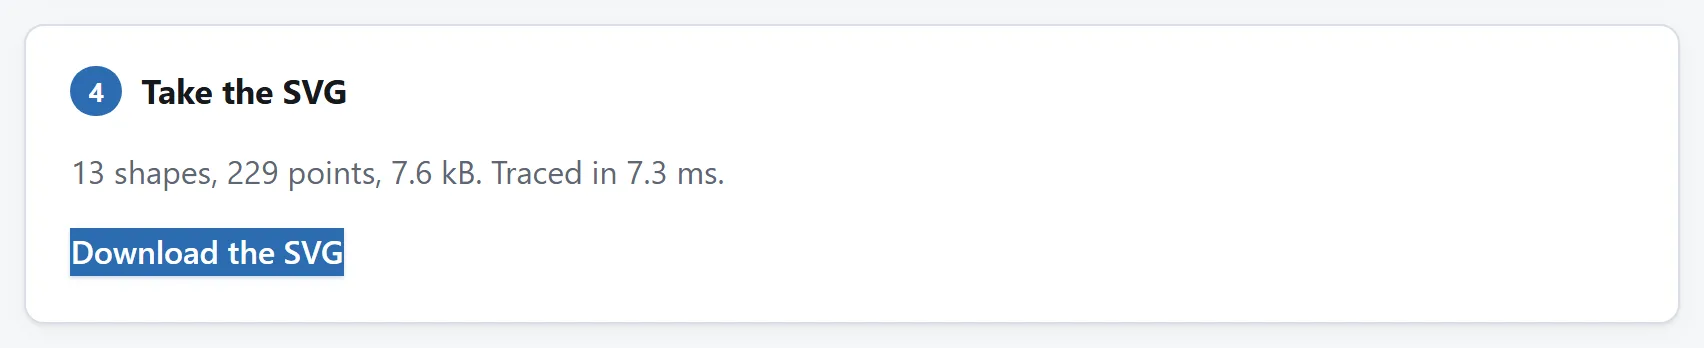
The count is worth a glance before you download. A drawing is tens or hundreds of points; thousands means the picture was a photograph.
Going the other way — an SVG you already have, and a PNG you need — is [a different job with its own guide](https://abox.tools/guides/convert-an-svg-to-png/). Nothing about tracing is reversible: the SVG that comes out of here is a new drawing of the shape, not the picture it was made from.
The short answer
Open Image to SVG, drop the picture in, and look at the red line. That line is the outline as it stands, drawn over the pixels it came from. If it is following the shape, take the file. If something is in it that should not be — a speck, a staple, a caption, a shadow — click that thing and it goes.
Everything below is the two questions that decide whether this works at all: is your picture a shape or a photograph, and which of the two ways of finding the shape does it want.
The outline is drawn over the picture rather than only beside it. That is the only place the question can be settled — an outline is right or wrong relative to those pixels and nothing else.
Tracing is not conversion, and photographs do not trace
Converting a JPEG to a PNG is a conversion: the same picture, described another way, and nothing is decided along the way. Tracing is not that. It throws almost everything away and keeps one thing — the boundary of a shape — and then describes that boundary as curves. If your picture has one clear shape in it, that is exactly what you wanted. If it is a photograph of a room, there is no shape to keep, and what comes back is every patch of similar colour as its own blob.
This is not a limitation waiting to be engineered away, so it is worth saying plainly what the numbers look like. An A4 page of line art traces to three shapes and six kilobytes. A page of handwriting, to fifty shapes and a hundred and fifty. A single megapixel of photograph traces to four thousand shapes and a megabyte and a half — bigger than the JPEG, slower to open, and it does not look like the photograph. The tool stops drawing at that point and says so rather than letting you find out after downloading it.
What a photograph traced as line art comes to. The file is still yours to download; the page just declines to pretend it is a drawing.
What traces well:
logos, marks and monograms;
stencils, stamps and cut files;
signatures and hand lettering;
line art, hatching and comic inks;
silhouettes, and anything already black on white.
There is one photographic job that does work, and it is a different job: cutting one object out of its background as a solid silhouette. That is what the second setting is for.
The two ways of finding the shape
Tracing needs one bit per pixel — in, or out — and there are two ways to decide that.
Light and dark asks whether each pixel is darker than one level, and the level is worked out for you. That is exactly right for ink on paper, and it is what you want for every logo, scan and stencil. When it is wrong it is usually wrong in a way you can see: move the threshold until the thin strokes survive without the paper going grey with it.
The subject asks a different question, because on a photograph the first one has no answer. A dark red figure standing on dark grey stone is dark on dark: there is no brightness that separates them, so no threshold can. Instead this learns what the background is from a band round the edge of the picture, measures every pixel against it, and keeps the largest thing that is not it. A caption in the corner is not the largest thing, so it is dropped rather than traced.
It has one failure worth knowing in advance: a photograph cropped so tightly that the subject runs off two or three sides. The border is then mostly subject, so the model learns the subject's own colours and the answer comes out inside out. Nothing about that is fixable by nudging a slider — the assumption was wrong, not the arithmetic. Turn off learn the background from the edges, tick click to say “this is background”, and click the background two or three times instead.
Fixing what it got wrong, by pointing at it
A threshold is one number for a whole picture, and it is always wrong somewhere: a shadow becomes ink, a staple survives, the middle of an O fills in. Each of those is a local mistake with an obvious local fix, and the fix is not another slider — it is pointing at the thing.
Click anything that should not be in the drawing and it goes; click it again and it comes back. A click takes the whole patch of that colour, so one click removes a whole speck or a whole stamp rather than a pixel. Clicking an enclosed piece of background fills it in instead, which is how a hole that should not be a hole gets closed. The line under the pictures says which it is and how big it is before you click, so a click that would take most of the picture is never a surprise.
Corrections are kept separately from the threshold, so moving the slider afterwards does not throw them away, and inverting the picture flips them with it — a speck you deleted stays deleted rather than reappearing as a hole punched in the background.
The two smoothing numbers, and when to touch them
Detail is how far the line may stray from the pixels while being simplified. Below about one it does nothing at all — a staircase step stands a whole pixel off the line it belongs to, so a smaller tolerance keeps every step and there is nothing left to simplify. Above about two it starts eating real curves. It is worked out per shape unless you say otherwise, because one number cannot serve a whole figure and a two-pixel letter stem at the same time.
Corner sharpness is how far the outline must turn before that turn is kept as a corner rather than rounded into a curve. It is only half the decision — a vertex is also kept as a corner if it stands far enough off its neighbours, which catches every obvious corner on its own — so this number only ever decides the shallow turns. Below about twenty degrees everything becomes a corner and a circle comes back as a polygon.
Most pictures need neither touched. They are worth knowing about for the two cases that do: a scan of very small text, which wants more detail, and a shape you are going to cut on a machine, which usually wants less.
What you get, and what to do with it
One file with a single <path> in it. Outlines are wound one way and the holes inside them the other, which is what lets a shape with forty holes be one element with no fill rule to set — so Illustrator, Inkscape, Figma, a browser and most cutting software all read it the same way.
The count is worth a glance before you download. A drawing is tens or hundreds of points; thousands means the picture was a photograph.
Going the other way — an SVG you already have, and a PNG you need — is a different job with its own guide. Nothing about tracing is reversible: the SVG that comes out of here is a new drawing of the shape, not the picture it was made from.


