How to make a video thumbnail from the exact right frame
The difference between a thumbnail and a screenshot is about a quarter of a second — the frame where the eyes are open and the ball is still in the air. Getting that frame, at the platform's size, under the platform's byte limit, is a three-step chain that runs entirely in your browser.
# How to make a video thumbnail from the exact right frame
The difference between a thumbnail and a screenshot is about a quarter of a second — the frame where the eyes are open and the ball is still in the air. Getting that frame, at the platform's size, under the platform's byte limit, is a three-step chain that runs entirely in your browser.
Last updated 26 August 2026
## The short answer
1. **Get the frame.** Open the [Frame Grabber](https://abox.tools/grab-frame/), drop the video in, and step through the file's own frame list to the exact instant. Save it as PNG — the lossless copy, so nothing is decided yet.
2. **Frame the frame.** Take the PNG to the [Image Resizer](https://abox.tools/resize-image/): crop to the platform's shape — 16:9 for YouTube — and size the long edge, 1280 pixels being the number YouTube actually asks for.
3. **Hit the ceiling.** Finish in the [Image Compressor](https://abox.tools/compress-image/) with the platform's limit as the target — 2 MB for a YouTube thumbnail — and let it pick JPEG or WebP.
Nothing in the chain uploads anything — worth having when the video is unpublished, and the thumbnail is being made precisely because the video is not public yet.
## Why stepping beats pausing
Pausing a player and screenshotting it loses twice. The pause lands where the player put it — the nearest place it could stop, not the frame you meant — and the screenshot is a picture of the player: its resolution, its overlay, its colour handling, not the file's.
The grabber walks the file's own frame list instead, one frame at a time in either direction, and hands you the decoded frame itself at the video's full resolution. A quarter-second of searching either side of the moment is usually where the thumbnail lives — the frame *between* the two obvious ones, where the motion reads but nothing is blurred.
Save the grab as PNG even though the final thumbnail will be JPEG or WebP. The PNG is an exact copy of the frame; every lossy decision then happens once, at the end, inside a byte budget — rather than twice, compounding.
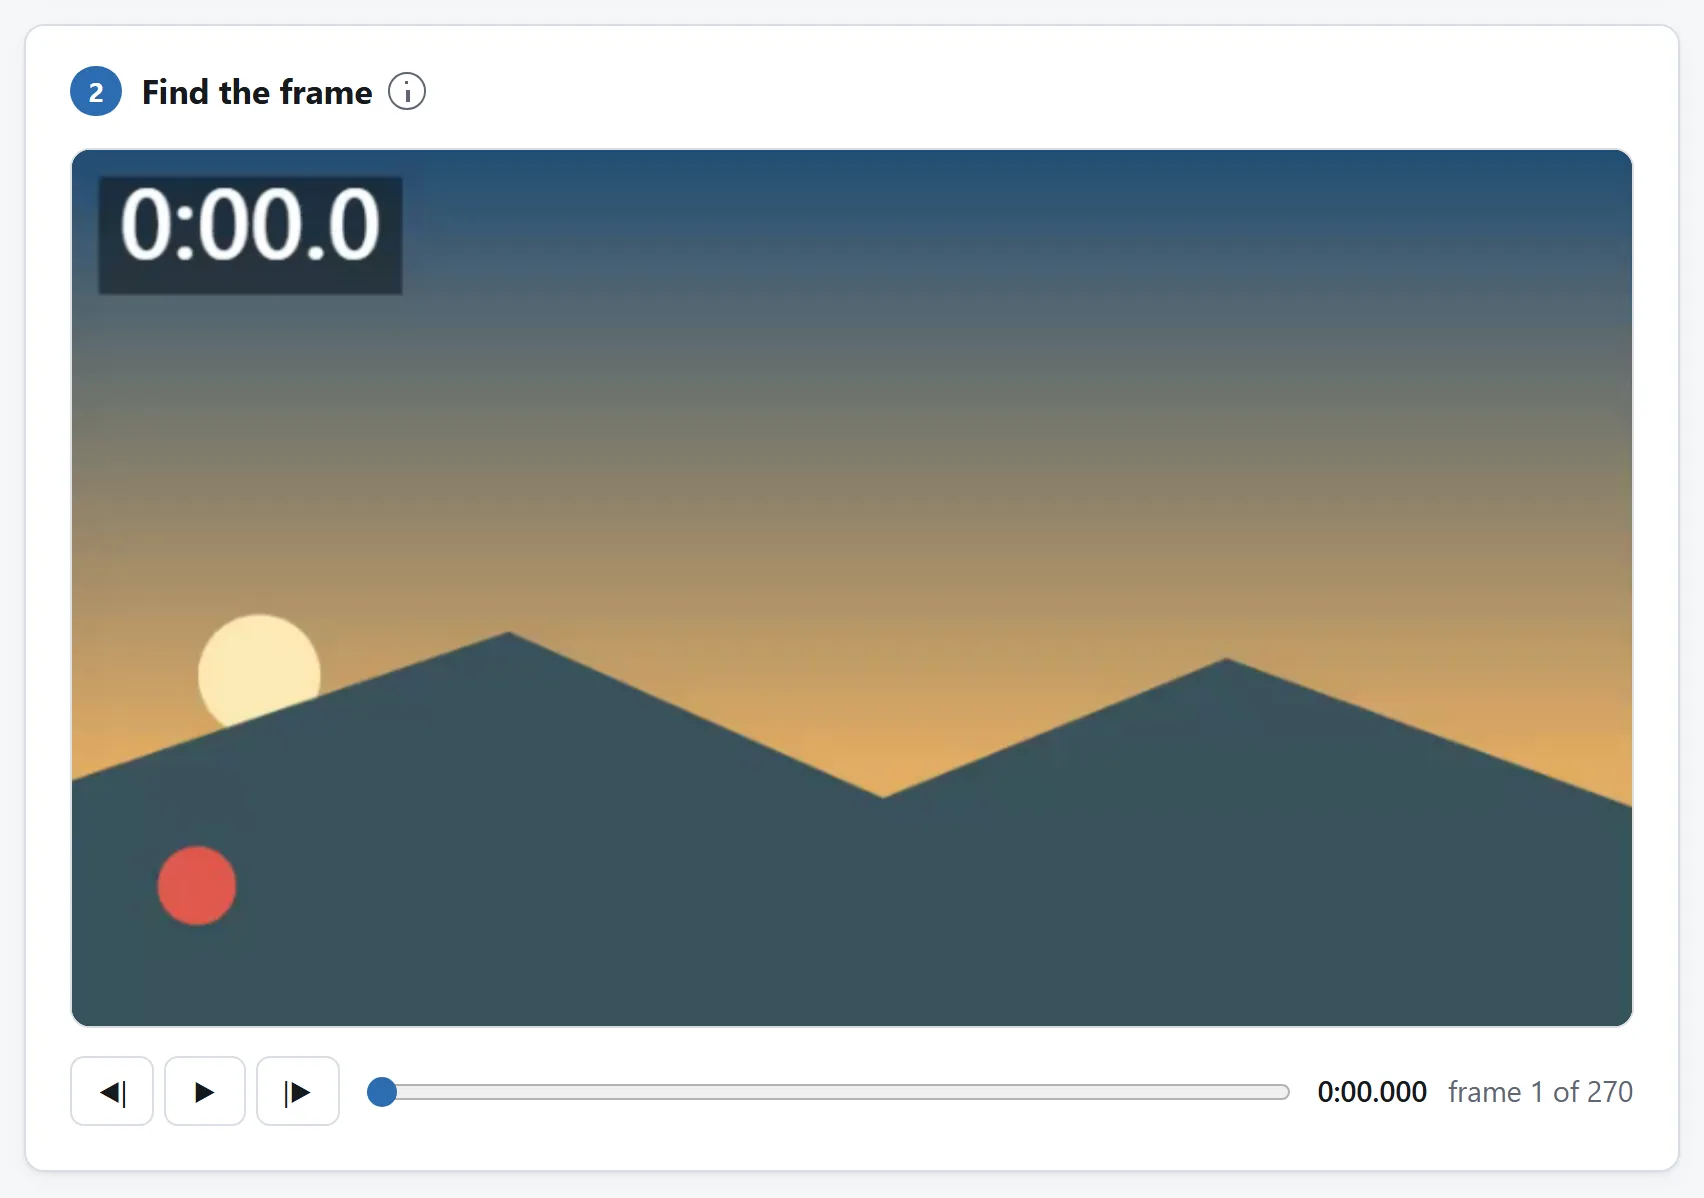
Stepping to the frame, rather than pausing and screenshotting it. The section above says what the difference actually is.
## The platform arithmetic
Crop before you compress, for the same reason the [photo guide](https://abox.tools/guides/get-photos-ready-for-the-web/) gives: pixels are the budget. A 16:9 crop of a 4K frame carried to 1280×720 lets the compressor spend its 2 MB on quality nobody has to squint at. The resizer's crop box locks to 16:9, so the shape is a drag rather than a calculation; text and faces want to sit inside the middle two-thirds, because feeds round the corners and overlay durations on the bottom right.
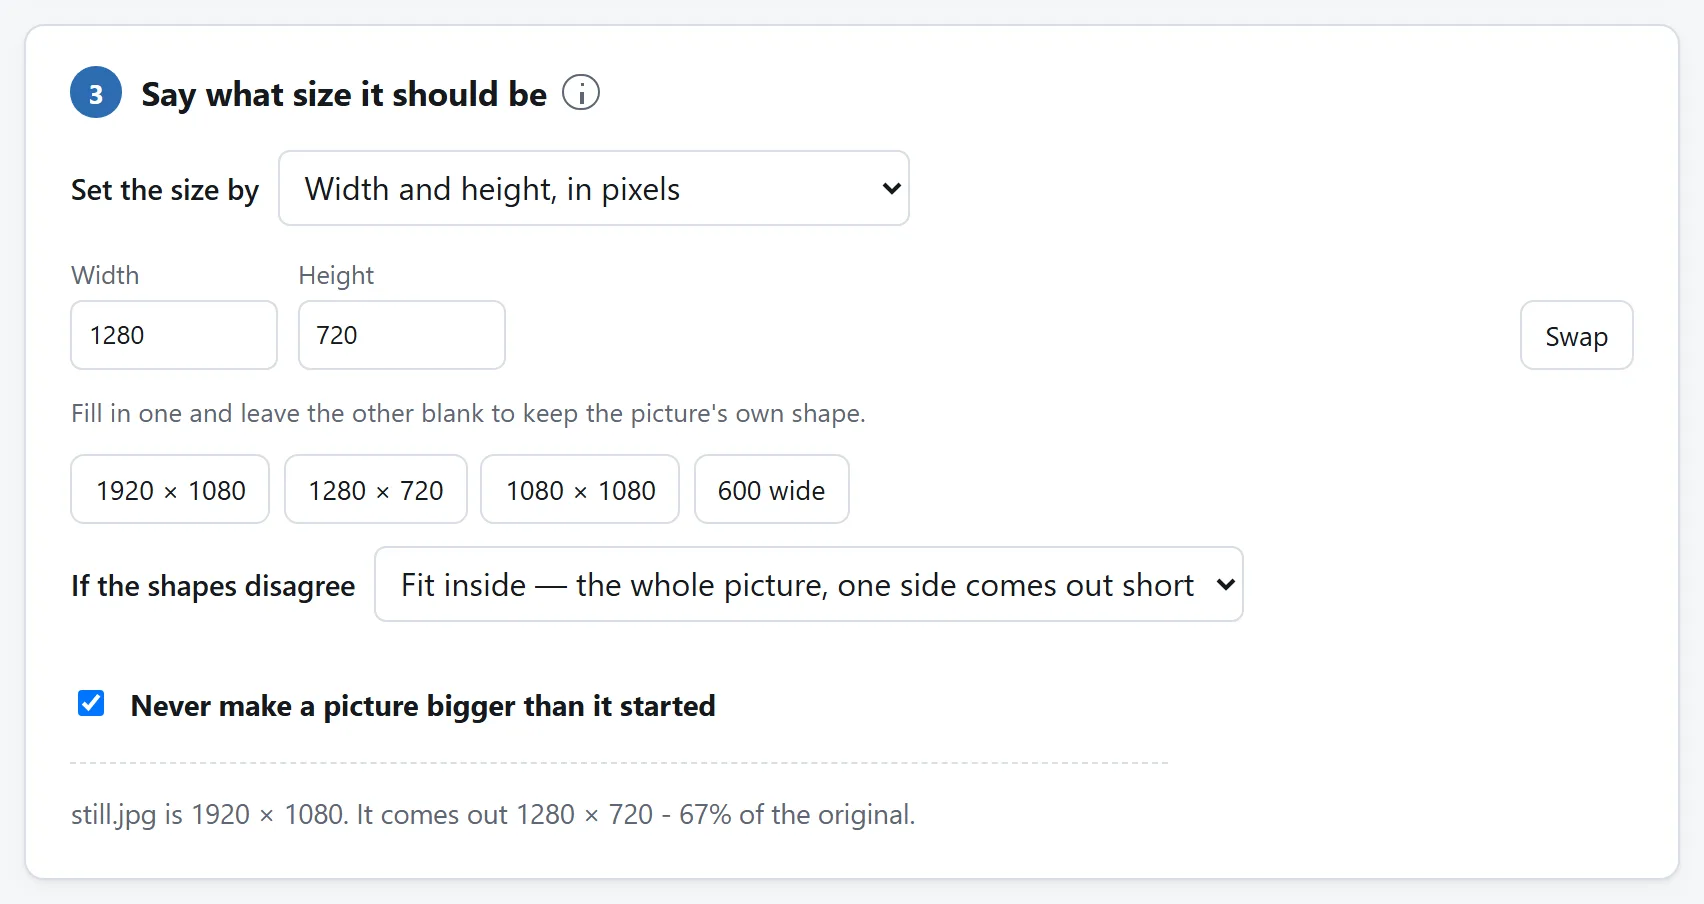
And then the arithmetic: whatever the platform asks for, typed in as two numbers.
## A contact sheet, when you cannot find the moment
When the right instant is somewhere in ten minutes of footage, the grabber's other mode saves one still every N seconds and hands the lot over as a ZIP. Skim the stills like a contact sheet, note the time of the nearest one, and step from there. It is faster than scrubbing, and it leaves a folder of candidates for the day the platform asks for a different shape.
## If you do this every week
The steps live on three pages here on purpose — each page does one job, and each can prove on its own that nothing leaves your machine. But every step is open source: MIT-licensed, one folder per tool, dependency-free ES modules with READMEs that explain the decoder, the resampler and the byte-target search.
If thumbnails are a weekly deliverable, point a coding agent at the [repository](https://github.com/A-Box-of-Tools/website) and ask it for a one-page version: step, crop to your platform's preset, compress to its ceiling, one button. The modules were written to be read, and lifting them is what the licence is for.
The short answer
Get the frame. Open the Frame Grabber, drop the video in, and step through the file's own frame list to the exact instant. Save it as PNG — the lossless copy, so nothing is decided yet.
Frame the frame. Take the PNG to the Image Resizer: crop to the platform's shape — 16:9 for YouTube — and size the long edge, 1280 pixels being the number YouTube actually asks for.
Hit the ceiling. Finish in the Image Compressor with the platform's limit as the target — 2 MB for a YouTube thumbnail — and let it pick JPEG or WebP.
Nothing in the chain uploads anything — worth having when the video is unpublished, and the thumbnail is being made precisely because the video is not public yet.
Why stepping beats pausing
Pausing a player and screenshotting it loses twice. The pause lands where the player put it — the nearest place it could stop, not the frame you meant — and the screenshot is a picture of the player: its resolution, its overlay, its colour handling, not the file's.
The grabber walks the file's own frame list instead, one frame at a time in either direction, and hands you the decoded frame itself at the video's full resolution. A quarter-second of searching either side of the moment is usually where the thumbnail lives — the frame between the two obvious ones, where the motion reads but nothing is blurred.
Save the grab as PNG even though the final thumbnail will be JPEG or WebP. The PNG is an exact copy of the frame; every lossy decision then happens once, at the end, inside a byte budget — rather than twice, compounding.
Stepping to the frame, rather than pausing and screenshotting it. The section above says what the difference actually is.
The platform arithmetic
Crop before you compress, for the same reason the photo guide gives: pixels are the budget. A 16:9 crop of a 4K frame carried to 1280×720 lets the compressor spend its 2 MB on quality nobody has to squint at. The resizer's crop box locks to 16:9, so the shape is a drag rather than a calculation; text and faces want to sit inside the middle two-thirds, because feeds round the corners and overlay durations on the bottom right.
And then the arithmetic: whatever the platform asks for, typed in as two numbers.
A contact sheet, when you cannot find the moment
When the right instant is somewhere in ten minutes of footage, the grabber's other mode saves one still every N seconds and hands the lot over as a ZIP. Skim the stills like a contact sheet, note the time of the nearest one, and step from there. It is faster than scrubbing, and it leaves a folder of candidates for the day the platform asks for a different shape.
If you do this every week
The steps live on three pages here on purpose — each page does one job, and each can prove on its own that nothing leaves your machine. But every step is open source: MIT-licensed, one folder per tool, dependency-free ES modules with READMEs that explain the decoder, the resampler and the byte-target search.
If thumbnails are a weekly deliverable, point a coding agent at the repository and ask it for a one-page version: step, crop to your platform's preset, compress to its ceiling, one button. The modules were written to be read, and lifting them is what the licence is for.

