The short answer
- iPhone photos first: run any HEIC files through the HEIC converter, and choose to leave the metadata out. It tells you, before converting anything, which photos are carrying GPS coordinates. Photos that are already JPEG skip this step.
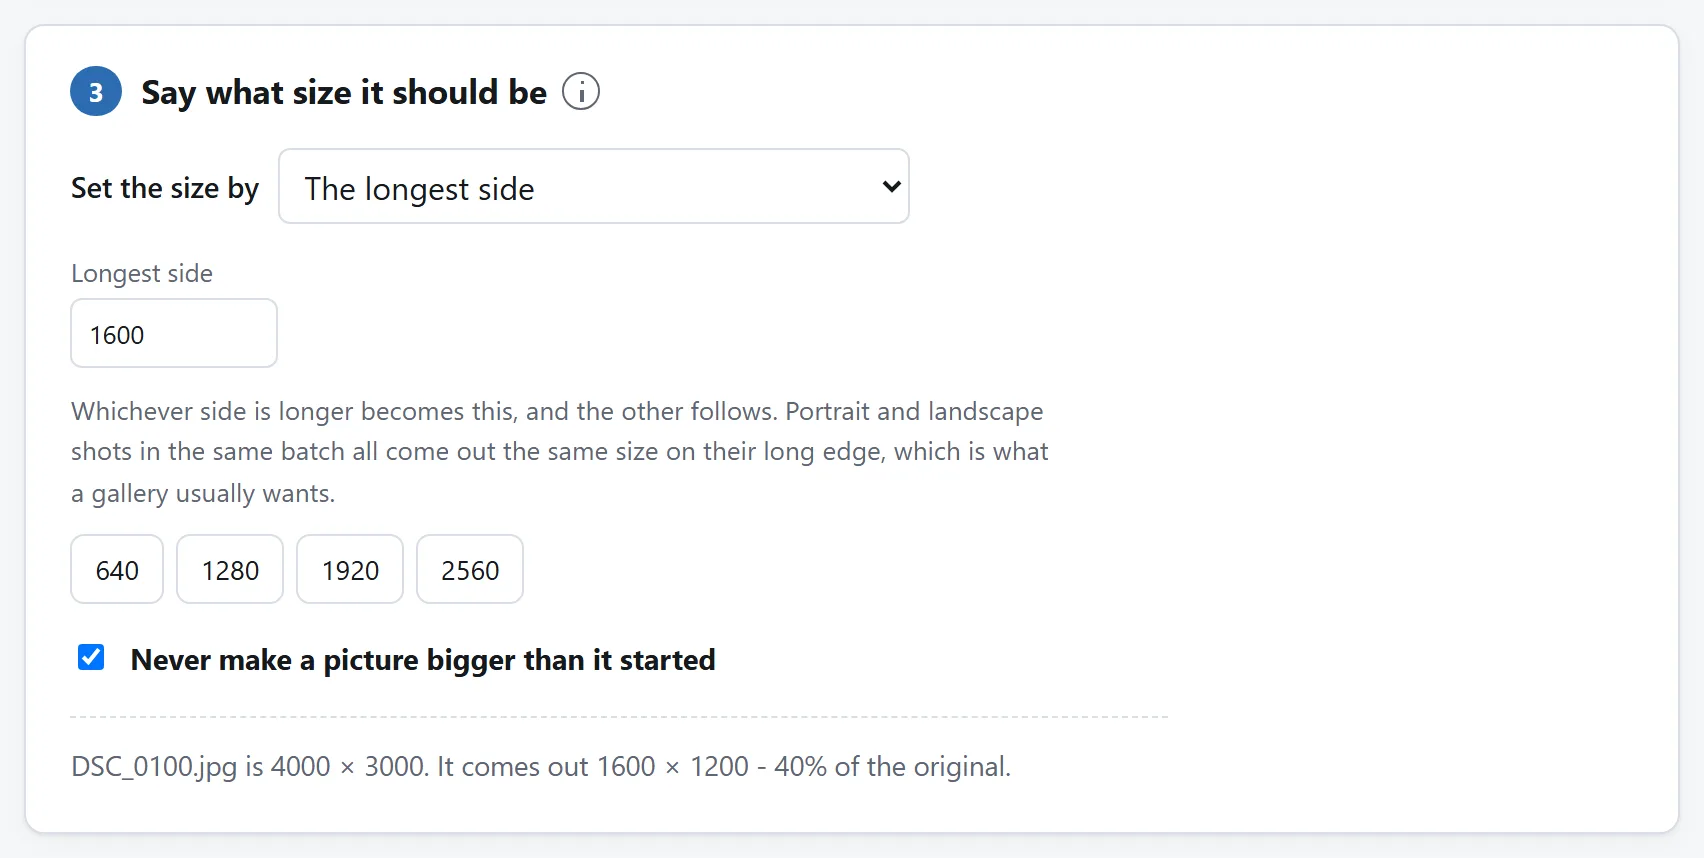
- Frame and size: drop the batch on the Image Resizer. Set a long edge — 1600 pixels suits most pages, 2000 if readers will zoom — or crop the whole batch to one aspect ratio in a click.
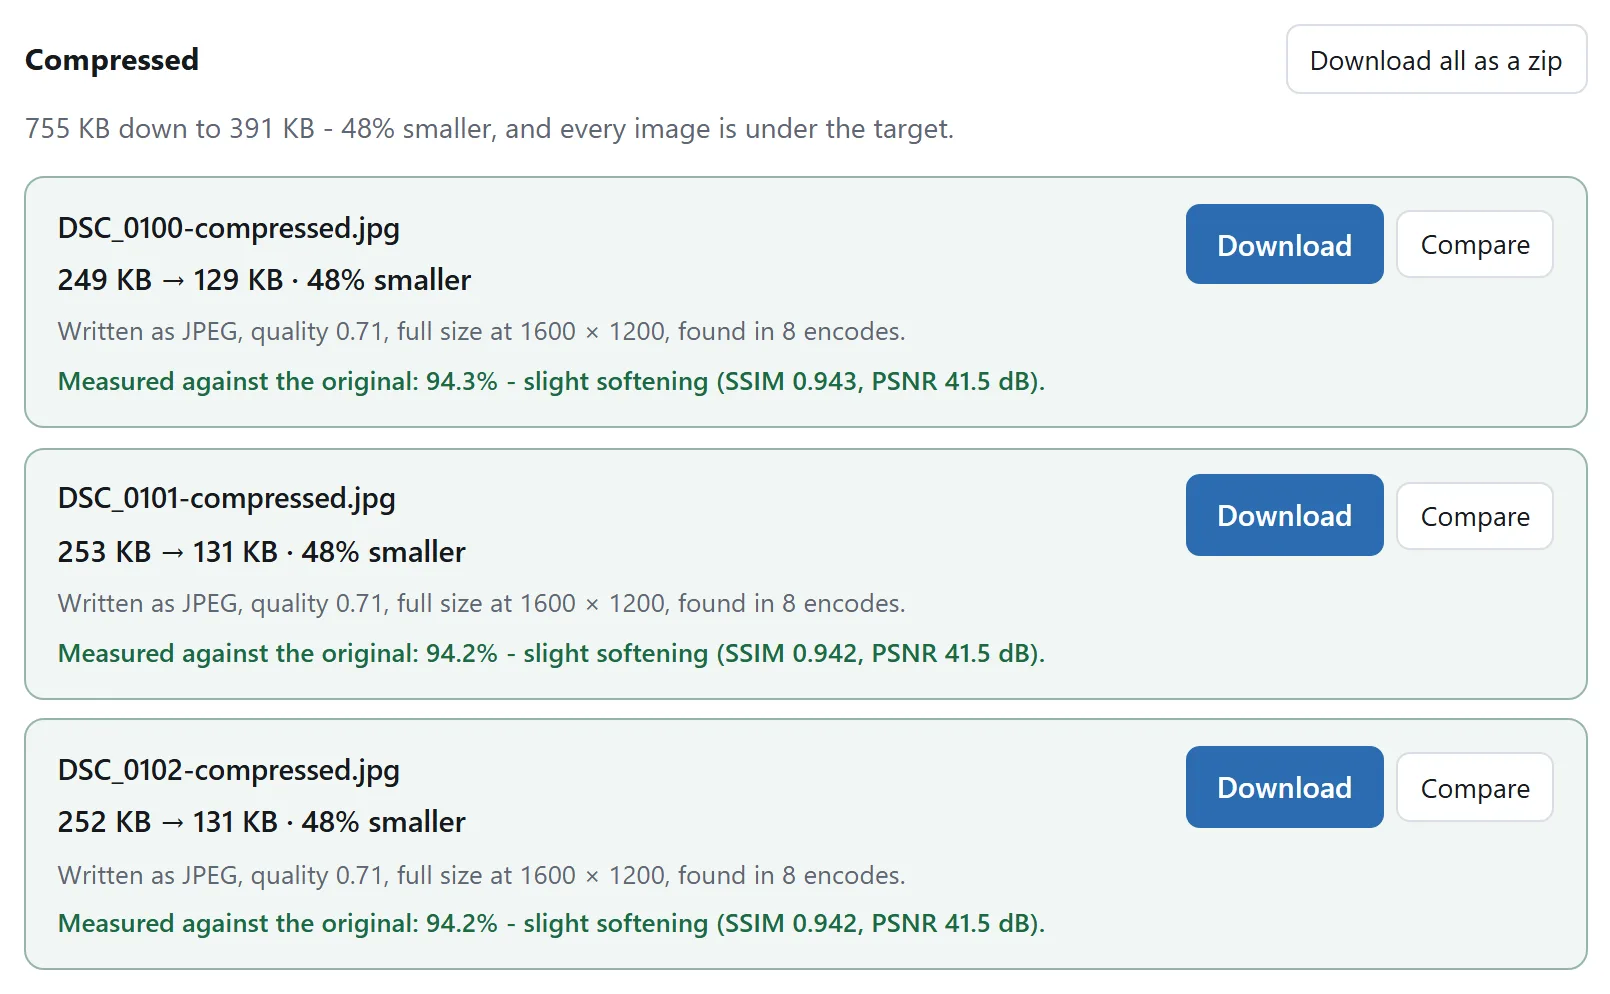
- Hit the budget: finish in the Image Compressor, which takes a target in kilobytes rather than a quality slider, and hands a batch back as one zip.
Everything runs in your browser. The originals — full resolution, GPS and all — never leave your machine, which is the point of doing this locally rather than through a converter site.
Where the metadata goes
The quiet risk in a phone photo is not the pixels; it is the tags. EXIF metadata records the camera, the timestamps, and — on nearly every phone — the GPS coordinates of where the photo was taken. Post it and you may be publishing your home address in a form any viewer can read.
The useful fact about this pipeline is that it deals with the tags on its own. Resizing and compressing both redraw the image from pixels, and redrawn pixels carry no tags — so anything that comes out of steps 2 or 3 is clean without you asking. The two cases that need a decision:
- Converting HEIC: the converter can carry the metadata across or leave it out — it is a checkbox, and it warns you which photos have GPS aboard. For anything public, leave it out.
- A photo you are not resizing: if the pixels should stay untouched, byte for byte, use the EXIF editor, which removes the tags without re-encoding the image. The metadata guide is the long version.
Why resize before compressing
Because pixels are the budget. A 12-megapixel photo squeezed hard enough to fit a 300 KB slot looks visibly worse than a 2-megapixel photo compressed gently into the same slot — the same kilobytes are spread over six times the area. Deciding the display size first lets the compressor spend its budget on quality instead of on resolution nobody will see.
The compressor will resize on its own when there is no other way to reach the target, but it treats that as a last resort. Doing the framing yourself in the resizer keeps the decision — what to crop, which edge matters — where it belongs.
The resizing guide and the compression guide each go deeper on their half, including what the quality numbers actually measure.
The whole batch at once
Each tool in the chain takes a folder's worth of files in one drop: the converter does every HEIC including bursts, the resizer can put one framing across the whole set or let you crop each photo differently, and the compressor returns the lot as a single zip. Twenty photos cost barely more of your attention than one — the machine time is your machine's, and it is quicker than any upload would have been.
If you do this every week
The pipeline lives on three or four pages here on purpose — each page does one job, and each proves on its own that nothing leaves your machine. But every step is open source: MIT-licensed, one folder per tool, dependency-free ES modules with READMEs that explain the decoder, the resampler and the size-target search.
If your photos take the same shape every time — same long edge, same budget, same strip-the-tags — point a coding agent at the repository and ask it to compose those modules into a single drop zone with your presets baked in. The modules were written to be read, and lifting them is what the licence is for.