Somebody has asked for “one PDF” and you have eleven photographs of paper. This covers the choices that actually change the result — page size, order, quality and what the document says about you — and which of them you can ignore.
# How to combine images into one PDF
Somebody has asked for “one PDF” and you have eleven photographs of paper. This covers the choices that actually change the result — page size, order, quality and what the document says about you — and which of them you can ignore.
[Open the Images to PDF](https://abox.tools/images-to-pdf/): Put your pictures into one document.
Last updated 26 August 2026
## The short answer
Open [Images to PDF](https://abox.tools/images-to-pdf/), drop the pictures in, drag the tiles until the order is right, and create the document. The defaults — A4 pages, a small margin, photographs copied in without being re-encoded — are what most people want.
The four things worth a second thought are the order, the page size, the quality setting, and what the finished document says about you. In that order of how often they go wrong.
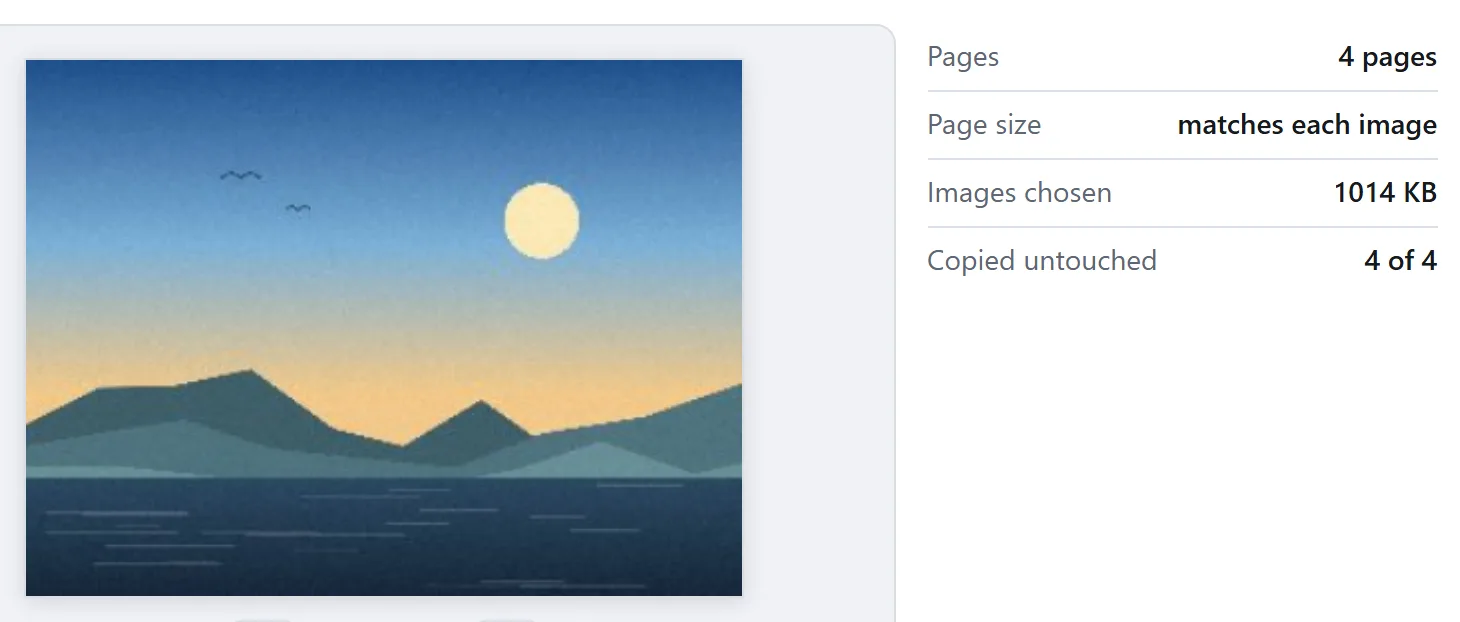
The preview is the check worth making: it is the finished page, at the shape the finished page will be.
## Get the order right before anything else
Page order is the single most common thing to get wrong, because file names sort in ways nobody expects. `IMG_2.jpg` comes after `IMG_10.jpg` in an alphabetical sort, since the comparison is character by character and `1` is before `2`. A folder of scans named `page1` to `page12` will arrive in the wrong order in almost any tool.
Sorting by date taken is usually more reliable for photographs, because you photographed the pages in the order they were in. Either way, check the tiles before you press the button rather than checking the PDF afterwards.
## Quality: the part most tools get wrong quietly
A PDF can carry JPEG data directly. That is a property of the format: the compressed bytes of a JPEG can be dropped into the document as they are, and the reader decodes them the same way a browser would.
This matters because it means a photograph does not have to lose anything on the way into a PDF. It is never decoded and never compressed again; the picture in the document is bit for bit the picture in your file. Many tools re-encode anyway — it is simpler to render everything to a canvas and encode uniformly — and the result is a generation of quality lost for no reason.
Other formats cannot ride along like that. PNG, WebP, HEIC and the rest have no matching filter in PDF, so they have to be converted. You get a choice about how:
- **Re-encode as JPEG** (the default). Smallest file, a small quality cost, and the right answer for photographs.
- **Lossless.** Stores the exact pixels at the cost of a much larger document. The right answer for screenshots, diagrams, and anything with text or sharp edges in it, where JPEG artefacts are obvious.
## Page size, and when “fit the picture” is better
A standard page size — A4, Letter, Legal, A3, A5, Tabloid — places each image on a page of that size, scaled to fit inside your margin. Use one when the document is going to be printed, or when somebody official is going to file it.
“Exactly the size of each picture” makes every page match its image, so there is no white space and no scaling at all. Use it when the PDF is a container for pictures rather than a document: a portfolio, a set of screenshots, a comic. It looks wrong when printed, because every page is a different size.
A margin is worth having on anything that will be printed. Home printers cannot print to the edge of the paper, and a photograph placed edge to edge comes out clipped.
### Portrait pages from landscape photographs
If you photographed pages of paper with a phone held sideways, every image will be landscape and will sit small in the middle of a portrait page. Rotating each one a quarter turn before you build the document is what fixes it, and it is a per-image choice rather than a global one, because usually a few of them went in the right way round.
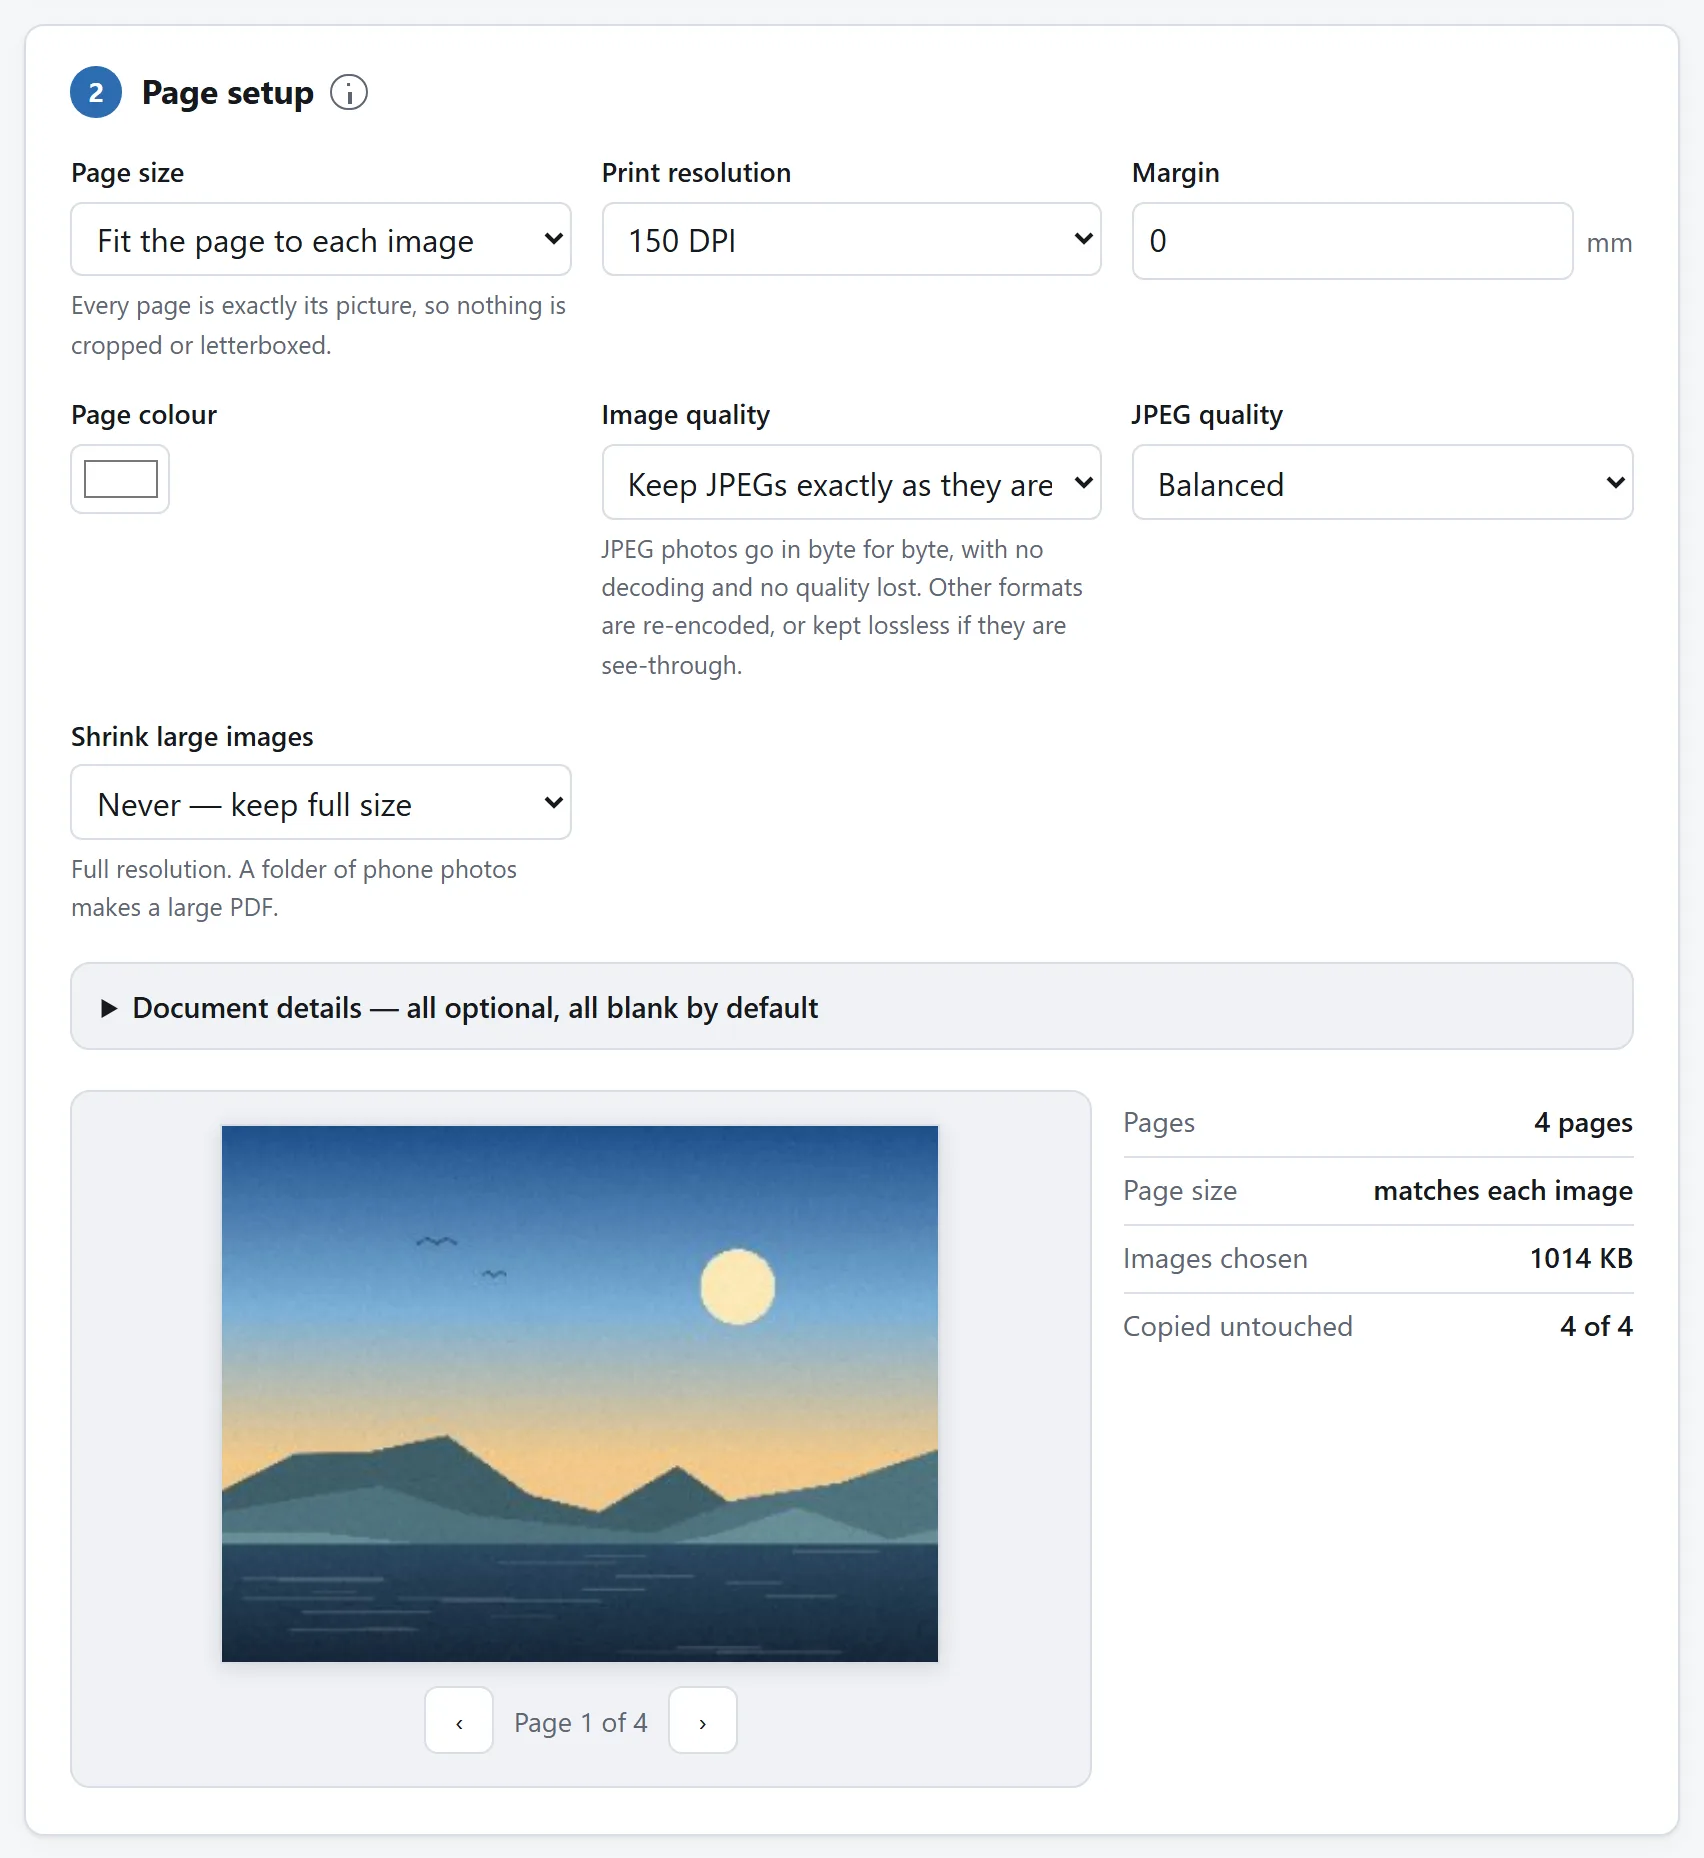
Page size and fit together decide whether a picture is shown whole or cropped to the paper. "Match each image" is the setting that avoids the question entirely.
## What the finished PDF says about you
A PDF carries a document information block: author, producer, creation date, sometimes the title. Depending on what wrote it, that can include your account name, your machine name, and the exact time you made it.
That is worth thinking about, because a PDF is a thing people send to other people — a job application, a claim, a document for a landlord. The metadata travels with it and any reader can display it.
The tool here leaves that block empty except for its own name: no file names, no machine name, no user name, and no creation date unless you tick the box asking for one. If you use a different tool, it is worth opening the result's properties once to see what it wrote.
Separately: the images themselves. If your photographs carry EXIF and GPS tags, what happens to them depends on the path. A JPEG copied in without re-encoding keeps whatever was in it; an image that gets re-encoded loses the tags as a side effect. If it matters, strip the photos first with the [EXIF Viewer & Remover](https://abox.tools/exif-editor/) — [its guide](https://abox.tools/guides/remove-exif-and-gps-data/) explains what is in there.
## If the PDF comes out too large
Phone photographs are large, and twenty of them make a document that email will refuse. Three things to try, in order:
**Shrink the longest side.** A 4000-pixel photograph of a sheet of paper is carrying far more detail than any reader or printer will use. Bringing the long edge down to something like 2000 pixels typically quarters the file and changes nothing anyone can see on a page.
**Use JPEG rather than lossless** for anything photographic. Lossless is the right answer for diagrams and the wrong one for a photo of a page.
**Compress the finished document.** The [PDF Compressor](https://abox.tools/compress-pdf/) works against how large each image is drawn on the page rather than against its pixel count, which is the measurement that matters; [its guide](https://abox.tools/guides/make-a-pdf-smaller/) covers what that costs.
There is no limit built into the tool on how many images you can use. The practical ceiling is your own machine's memory, because the finished document is assembled there before you download it — a few hundred phone photos at full resolution is the first thing to feel it, and shrinking the longest side moves that ceiling a long way.
## What this will not give you
A PDF made from photographs is a PDF full of pictures. The words in it are not text: you cannot search them, copy them, or have a screen reader read them. That is a property of what you started with, not of the conversion.
If you need searchable text you need OCR, which is a different job. And if the original document still exists as a document somewhere, exporting that directly to PDF will always beat photographing it — smaller, sharper, searchable.
## Why this does not need an upload
Writing a PDF is writing a structured file: a header, a set of objects, a cross-reference table. There is nothing in it a browser cannot do, and nothing about the job that requires the pictures to travel anywhere.
Which is worth caring about here, because of what people put in these documents. Identity papers, bank statements, medical letters, signed contracts — the whole reason somebody is making a PDF at all is usually that they are sending it to an institution. The tool here has no network feature of any kind, and the page's `Content-Security-Policy` names every address it may contact, none of which belongs to this site.
[Is it safe to upload files to online converters?](https://abox.tools/guides/is-it-safe-to-upload-files/) sets out how to check that for yourself, here or anywhere else.
The short answer
Open Images to PDF, drop the pictures in, drag the tiles until the order is right, and create the document. The defaults — A4 pages, a small margin, photographs copied in without being re-encoded — are what most people want.
The four things worth a second thought are the order, the page size, the quality setting, and what the finished document says about you. In that order of how often they go wrong.
The preview is the check worth making: it is the finished page, at the shape the finished page will be.
Get the order right before anything else
Page order is the single most common thing to get wrong, because file names sort in ways nobody expects. IMG_2.jpg comes after IMG_10.jpg in an alphabetical sort, since the comparison is character by character and 1 is before 2. A folder of scans named page1 to page12 will arrive in the wrong order in almost any tool.
Sorting by date taken is usually more reliable for photographs, because you photographed the pages in the order they were in. Either way, check the tiles before you press the button rather than checking the PDF afterwards.
Quality: the part most tools get wrong quietly
A PDF can carry JPEG data directly. That is a property of the format: the compressed bytes of a JPEG can be dropped into the document as they are, and the reader decodes them the same way a browser would.
This matters because it means a photograph does not have to lose anything on the way into a PDF. It is never decoded and never compressed again; the picture in the document is bit for bit the picture in your file. Many tools re-encode anyway — it is simpler to render everything to a canvas and encode uniformly — and the result is a generation of quality lost for no reason.
Other formats cannot ride along like that. PNG, WebP, HEIC and the rest have no matching filter in PDF, so they have to be converted. You get a choice about how:
Re-encode as JPEG (the default). Smallest file, a small quality cost, and the right answer for photographs.
Lossless. Stores the exact pixels at the cost of a much larger document. The right answer for screenshots, diagrams, and anything with text or sharp edges in it, where JPEG artefacts are obvious.
Page size, and when “fit the picture” is better
A standard page size — A4, Letter, Legal, A3, A5, Tabloid — places each image on a page of that size, scaled to fit inside your margin. Use one when the document is going to be printed, or when somebody official is going to file it.
“Exactly the size of each picture” makes every page match its image, so there is no white space and no scaling at all. Use it when the PDF is a container for pictures rather than a document: a portfolio, a set of screenshots, a comic. It looks wrong when printed, because every page is a different size.
A margin is worth having on anything that will be printed. Home printers cannot print to the edge of the paper, and a photograph placed edge to edge comes out clipped.
Portrait pages from landscape photographs
If you photographed pages of paper with a phone held sideways, every image will be landscape and will sit small in the middle of a portrait page. Rotating each one a quarter turn before you build the document is what fixes it, and it is a per-image choice rather than a global one, because usually a few of them went in the right way round.
Page size and fit together decide whether a picture is shown whole or cropped to the paper. "Match each image" is the setting that avoids the question entirely.
What the finished PDF says about you
A PDF carries a document information block: author, producer, creation date, sometimes the title. Depending on what wrote it, that can include your account name, your machine name, and the exact time you made it.
That is worth thinking about, because a PDF is a thing people send to other people — a job application, a claim, a document for a landlord. The metadata travels with it and any reader can display it.
The tool here leaves that block empty except for its own name: no file names, no machine name, no user name, and no creation date unless you tick the box asking for one. If you use a different tool, it is worth opening the result's properties once to see what it wrote.
Separately: the images themselves. If your photographs carry EXIF and GPS tags, what happens to them depends on the path. A JPEG copied in without re-encoding keeps whatever was in it; an image that gets re-encoded loses the tags as a side effect. If it matters, strip the photos first with the EXIF Viewer & Remover — its guide explains what is in there.
If the PDF comes out too large
Phone photographs are large, and twenty of them make a document that email will refuse. Three things to try, in order:
Shrink the longest side. A 4000-pixel photograph of a sheet of paper is carrying far more detail than any reader or printer will use. Bringing the long edge down to something like 2000 pixels typically quarters the file and changes nothing anyone can see on a page.
Use JPEG rather than lossless for anything photographic. Lossless is the right answer for diagrams and the wrong one for a photo of a page.
Compress the finished document. The PDF Compressor works against how large each image is drawn on the page rather than against its pixel count, which is the measurement that matters; its guide covers what that costs.
There is no limit built into the tool on how many images you can use. The practical ceiling is your own machine's memory, because the finished document is assembled there before you download it — a few hundred phone photos at full resolution is the first thing to feel it, and shrinking the longest side moves that ceiling a long way.
What this will not give you
A PDF made from photographs is a PDF full of pictures. The words in it are not text: you cannot search them, copy them, or have a screen reader read them. That is a property of what you started with, not of the conversion.
If you need searchable text you need OCR, which is a different job. And if the original document still exists as a document somewhere, exporting that directly to PDF will always beat photographing it — smaller, sharper, searchable.
Why this does not need an upload
Writing a PDF is writing a structured file: a header, a set of objects, a cross-reference table. There is nothing in it a browser cannot do, and nothing about the job that requires the pictures to travel anywhere.
Which is worth caring about here, because of what people put in these documents. Identity papers, bank statements, medical letters, signed contracts — the whole reason somebody is making a PDF at all is usually that they are sending it to an institution. The tool here has no network feature of any kind, and the page's Content-Security-Policy names every address it may contact, none of which belongs to this site.

